
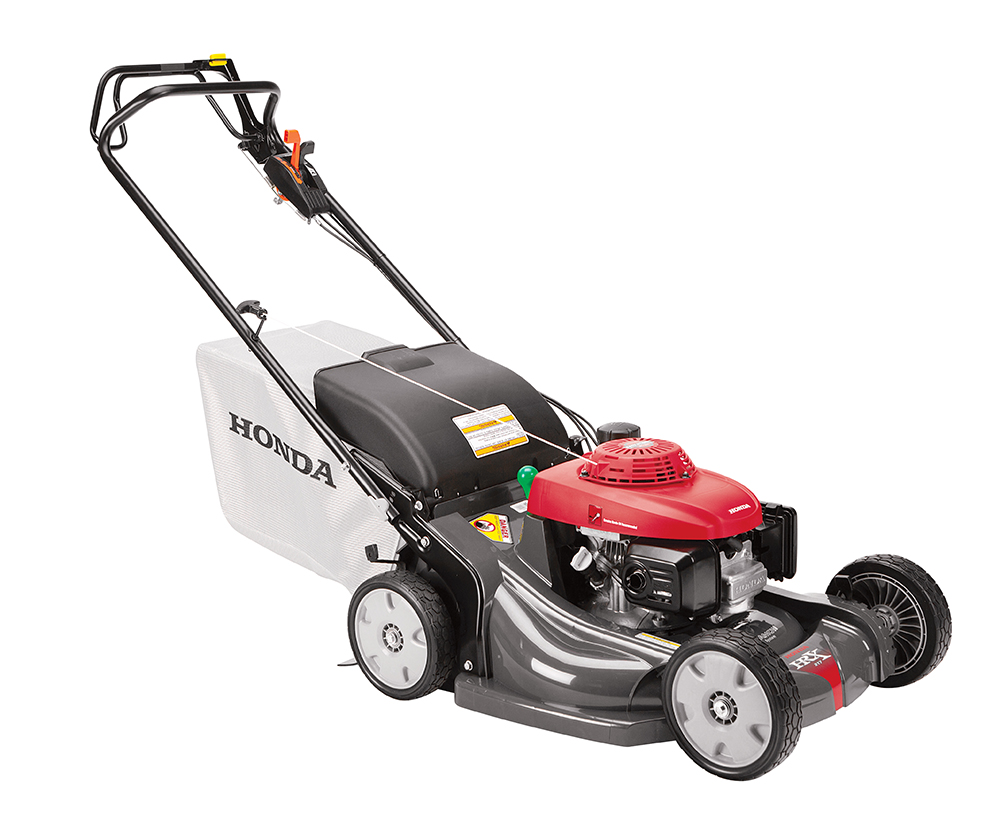
Starting a Honda lawn mower is simple and quick. This guide will help you get it right.
Honda lawn mowers are known for their reliability and efficiency. Whether you are new to mowing or just need a refresher, understanding the starting process is crucial. Many users find themselves puzzled by the initial steps, but with the correct guidance, it becomes straightforward.
This guide will provide clear and easy-to-follow instructions. It will help you avoid common mistakes and ensure your lawn mower runs smoothly. By the end of this article, you’ll feel confident and ready to tackle your lawn care tasks. Let’s dive in and get your Honda lawn mower started!
Preparation Steps
Starting a Honda lawn mower requires some basic preparation. Taking these steps helps ensure smooth operation and prolongs the life of your mower. Let’s go through the key preparation steps.
Gather Necessary Tools
Before starting, gather all necessary tools. You may need a clean cloth, a fuel can, and a funnel. Having these tools ready saves time and avoids interruptions. Make sure the tools are in good condition.
Check Fuel Level
Always check the fuel level before starting the mower. Locate the fuel tank and open the cap. Look inside to see the fuel level. If the tank is low, fill it up with fresh fuel. Use a funnel to avoid spills. Ensure the fuel cap is tightly closed after filling.
Safety Precautions
Ensure the area is clear of debris and bystanders. Check the oil and fuel levels before starting. Wear protective gloves and safety glasses.
Starting a Honda lawn mower involves more than just pulling the cord. Safety precautions ensure a safe mowing experience. Protect yourself and others by following these essential steps.Wear Protective Gear
Always wear appropriate protective gear before starting your Honda lawn mower. Wear sturdy shoes to protect your feet. Use gloves to safeguard your hands from debris. Safety glasses shield your eyes from flying objects. Ear protection helps prevent hearing damage from the mower’s noise. These items are crucial for your safety.Clear The Mowing Area
Before starting the mower, clear the mowing area of all obstacles. Remove rocks, sticks, and other debris. These items can become dangerous projectiles. Ensure pets and children are indoors. A clear area prevents accidents and ensures a smooth mowing process.Checking The Oil
Ensuring your Honda lawn mower has the right oil level is crucial. This keeps the engine running smoothly. Always check the oil before starting the mower. This section will guide you through the steps to check and add oil effectively.
Locate The Dipstick
First, locate the dipstick on your Honda lawn mower. It’s usually near the engine. The dipstick is a small rod with a handle, often yellow or orange. This helps you identify it easily.
Here’s a quick guide to locating the dipstick:
- Find the engine on your lawn mower.
- Look for a small handle, usually yellow or orange.
- Ensure the mower is on a flat surface.
Check And Add Oil
Now, let’s check the oil level. Follow these steps:
- Remove the dipstick by turning the cap counterclockwise.
- Wipe the dipstick clean with a cloth.
- Insert the dipstick back into the tube fully.
- Remove the dipstick again and check the oil level.
The oil level should be between the “Full” and “Add” marks on the dipstick. If the oil level is low, you need to add more oil. Here’s how:
- Use the recommended oil type for your Honda lawn mower.
- Slowly pour oil into the oil fill tube.
- Recheck the oil level using the dipstick.
- Repeat until the oil reaches the “Full” mark.
Make sure not to overfill the oil. This can cause problems with the engine.
| Step | Description |
|---|---|
| 1 | Remove the dipstick and wipe it clean. |
| 2 | Insert the dipstick fully, then remove it. |
| 3 | Check the oil level on the dipstick. |
| 4 | Add oil if needed, and recheck the level. |
Following these steps ensures your Honda lawn mower runs efficiently. Always check the oil before each use. This simple task can prevent major engine issues.
Inspecting The Air Filter
Inspecting the air filter is crucial for your Honda lawn mower’s performance. A clean air filter ensures smooth operation. It also extends the mower’s life. Follow these steps to inspect and maintain the air filter.
Remove The Filter Cover
First, locate the air filter cover. It’s usually on the side of the engine. Use a screwdriver to remove the screws. Keep the screws in a safe place. Gently pull the cover off. Be careful not to damage it.
Clean Or Replace The Filter
Once the cover is off, you will see the air filter. Inspect it closely. If it’s dirty, try to clean it. Use compressed air or tap it gently to remove debris. If it’s too dirty or damaged, replace it with a new one. Ensure the new filter matches the old one in size and type.
Reinstall the clean or new filter. Secure it properly. Replace the filter cover and tighten the screws. Your Honda lawn mower is now ready for a smooth start.
Fueling The Mower
Before starting your Honda lawn mower, ensure it has the right fuel. Proper fueling keeps the engine running smoothly and efficiently.
Use Fresh Gasoline
Always use fresh gasoline for your Honda lawn mower. Old gasoline can cause engine problems. Gasoline older than 30 days can become stale. This affects the mower’s performance. Use clean, fresh gasoline to avoid these issues.
Look for unleaded gasoline with an octane rating of 87 or higher. Avoid using gasoline with more than 10% ethanol. Ethanol can damage small engines over time. Make sure the gasoline is stored in a clean, sealed container.
Avoid Overfilling
Be careful not to overfill the fuel tank. Overfilling can lead to spillage. This can be dangerous and harm the environment. Follow the fuel tank capacity guidelines in your mower’s manual.
Here is a simple step-by-step guide for fueling your mower:
- Turn off the mower and let it cool down.
- Locate the fuel tank cap and remove it.
- Use a funnel to pour the gasoline slowly.
- Fill up to the recommended level, usually marked inside the tank.
- Replace the fuel tank cap securely.
By following these steps, you ensure safe and efficient fueling of your Honda lawn mower.
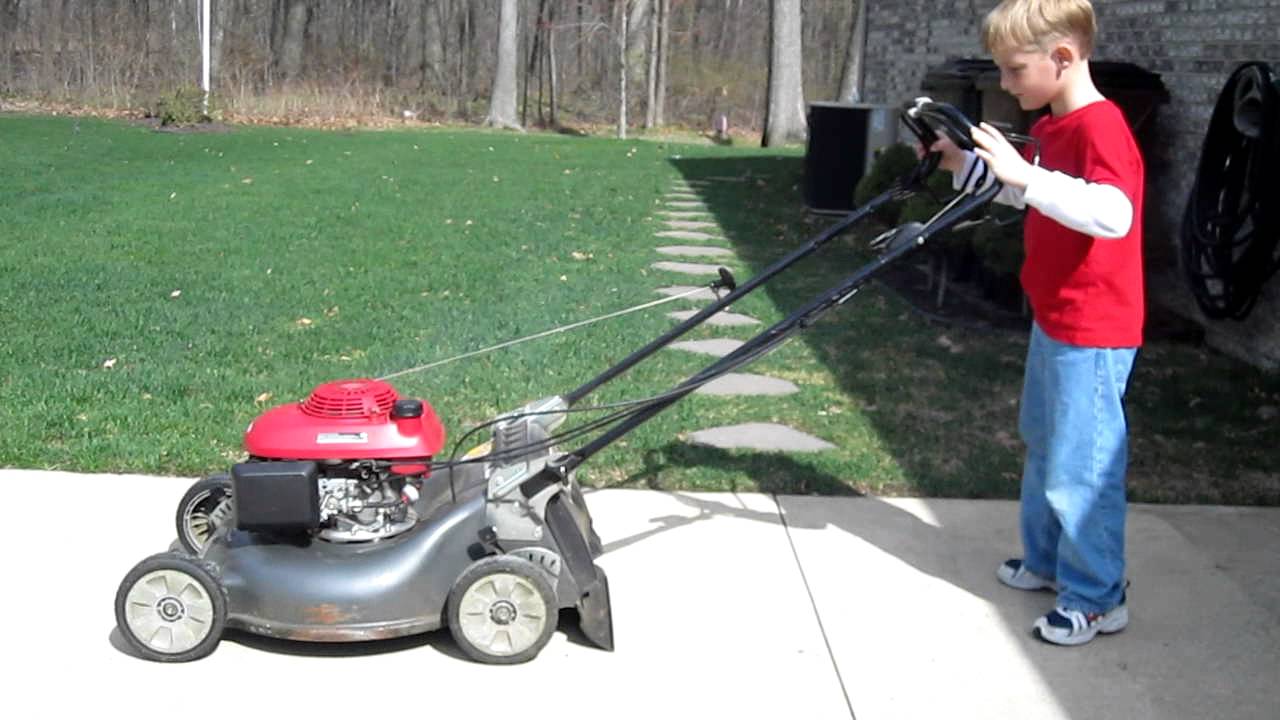
Starting The Engine
Starting your Honda lawn mower can seem challenging if you’re new to it. Follow these simple steps to ensure a smooth start. This guide will help you understand how to start the engine without any hassle.
Engage The Safety Lever
Before starting, ensure the safety lever is engaged. This lever is usually located on the handlebar. Holding it down is crucial for the engine to start. It prevents accidental starts, ensuring safety.
Steps to Engage the Safety Lever:
- Locate the safety lever on the handlebar.
- Firmly press and hold it down.
- Ensure it stays held while starting the engine.
Pull The Starter Cord
With the safety lever engaged, you are ready to start the engine. The starter cord is key to igniting the engine. Make sure you pull it correctly.
Steps to Pull the Starter Cord:
- Stand behind the mower, holding the handlebar with one hand.
- Grasp the starter cord with your other hand.
- Pull the cord sharply and steadily.
- If the engine does not start, repeat the pull.
Remember to pull the cord with enough force. A gentle pull might not start the engine. Repeat the process if necessary, ensuring the safety lever stays engaged.
Adjusting The Cutting Height
Properly adjusting the cutting height of your Honda lawn mower is important. It ensures your lawn gets the best cut possible. Follow these simple steps to adjust the cutting height.
Locate The Adjustment Levers
First, find the adjustment levers on your Honda lawn mower. These levers are usually near each wheel. They control the height of the mower deck.
Set Desired Height
Next, decide on the cutting height you want. Most mowers have multiple height settings. Move each lever to match the desired height. Check that all wheels are set to the same height. This keeps the mower level and gives an even cut.
Post-use Maintenance
After using your Honda lawn mower, it’s essential to perform some basic maintenance. This ensures that your mower remains in good condition and lasts longer. Regular care can help avoid costly repairs and keep your mower working efficiently.
Clean The Mower Deck
Grass clippings and debris can accumulate under the mower deck. This build-up can affect the mower’s performance. Always clean the mower deck after each use. Use a garden hose to spray off any grass and dirt. A putty knife can help scrape off stubborn debris. Make sure the mower is off and cool before cleaning.
Store The Mower Properly
Proper storage is key to maintaining your Honda lawn mower. Always store your mower in a dry, sheltered place. Avoid leaving it outside, exposed to the elements. Use a cover to protect it from dust and moisture. This helps prevent rust and other damage. Ensure the fuel tank is empty before storing for long periods. This prevents fuel from becoming stale and clogging the carburetor.
Frequently Asked Questions
How Do I Prime My Honda Lawn Mower?
To prime your Honda lawn mower, locate the primer bulb near the carburetor. Press it three to five times to ensure fuel reaches the engine.
What Type Of Fuel Should I Use?
Use unleaded gasoline with a minimum 87 octane rating. Avoid using ethanol blends higher than 10% to maintain engine performance.
How Do I Check The Oil Level?
Remove the dipstick, wipe it clean, reinsert it, and then pull it out to check the oil level. Ensure it’s between the marks.
Why Won’t My Honda Lawn Mower Start?
Common reasons include insufficient fuel, dirty spark plug, clogged air filter, or old fuel. Check and address these issues to start your mower.
Conclusion
Starting a Honda lawn mower is simple with the right steps. Check the fuel and oil levels first. Next, set the choke and throttle. Pull the starter cord firmly. Your mower should start smoothly. Regular maintenance keeps it running well.
Remember these tips for easy mowing. Enjoy your well-maintained lawn!
