
Maintaining your Honda lawn mower ensures it runs smoothly. Cleaning the carburetor is a key part of this maintenance.
A clogged carburetor can lead to poor engine performance or prevent your mower from starting. Regular cleaning can save you from costly repairs and extend the life of your mower. This guide will help you understand the steps to clean your Honda lawn mower carburetor efficiently.
Whether you are a seasoned gardener or a newbie, these simple steps will make the process easy. Keep your lawn mower in top shape and enjoy a beautifully manicured lawn. Let’s dive into the details and get your mower running like new.
Tools And Materials Needed
Cleaning your Honda lawn mower carburetor keeps your machine running smoothly. Proper tools and materials make the cleaning process easier and more effective.
Essential Tools
Gather the right tools to start cleaning your carburetor. You’ll need a flathead screwdriver. A Phillips screwdriver is also necessary. Both help in removing screws and bolts. A socket wrench set is essential. It helps in loosening and tightening nuts. A pair of needle-nose pliers is useful. They help in gripping and removing small parts. A bowl or container is needed. It holds small parts and keeps them safe.
Cleaning Supplies
Cleaning supplies are crucial for a thorough job. Carburetor cleaner spray is a must. It dissolves grime and dirt quickly. Get a can of compressed air. It blows away loosened debris. A set of wire brushes is useful. They help in scrubbing off stubborn residue. Clean rags or paper towels are needed. They wipe away the cleaner and dirt. Finally, have a pair of gloves. They protect your hands from chemicals and grime.
Safety Precautions
Cleaning your Honda lawn mower carburetor can restore its efficiency. But, your safety is crucial. Before diving into the task, let’s discuss essential safety precautions you need to take. Safety should always come first to avoid any potential injuries.
Protective Gear
Wearing the right protective gear is essential. Always wear gloves to protect your hands from fuel and sharp parts. Use safety goggles to shield your eyes from debris. A dust mask will protect you from inhaling harmful particles. Dress in long sleeves and pants to avoid skin contact with fuel and dirt.
- Gloves: Protect your hands from sharp edges and chemicals.
- Safety Goggles: Shield your eyes from debris.
- Dust Mask: Prevents inhalation of harmful particles.
- Long Sleeves and Pants: Protect your skin from fuel and dirt.
Work Area Preparation
Prepare your work area to ensure it is safe and organized. Choose a well-ventilated space. This helps to disperse any fuel fumes. Keep a fire extinguisher nearby in case of emergencies. Use a clean, flat surface to prevent losing small parts. Ensure all tools are within reach.
- Ventilated Area: Disperse fuel fumes.
- Fire Extinguisher: Have it ready for emergencies.
- Flat Surface: Prevent losing small parts.
- Tools Within Reach: Keep all necessary tools close.
Following these safety precautions ensures a smooth and safe carburetor cleaning process. Always prioritize your safety to avoid any accidents or injuries.
Locating The Carburetor
Cleaning your Honda lawn mower’s carburetor is essential for optimal performance. The first step involves locating the carburetor. Without knowing its exact position, you cannot proceed with cleaning or maintenance.
Removing The Cover
To locate the carburetor, start by removing the cover. The cover protects the inner parts of the lawn mower. Follow these steps:
- Ensure the lawn mower is off and cool.
- Use a screwdriver to remove the screws on the cover.
- Gently lift the cover to expose the engine components.
Removing the cover gives you access to various parts of the engine. This step is crucial for identifying the carburetor.
Identifying The Carburetor
With the cover removed, you need to identify the carburetor. The carburetor is a small, metallic part connected to the engine. Look for these features:
- A metal body with a noticeable shape.
- Fuel lines attached to it.
- A throttle linkage connected to the top.
To make it easier, refer to your lawn mower’s manual. The manual often has diagrams that show the carburetor’s exact location. Identifying the carburetor correctly is key to proper cleaning.
Removing The Carburetor
Removing the carburetor from your Honda lawn mower is a crucial step in cleaning it. This process ensures that you can access and clean all the necessary parts. Follow these steps carefully to avoid damaging any components of your lawn mower.
Disconnecting Fuel Line
First, locate the fuel line. It’s usually a rubber tube that connects the gas tank to the carburetor. Use pliers to gently remove the clamp holding the fuel line in place. Be sure to have a container ready to catch any fuel that might spill. Carefully pull the fuel line off the carburetor. Ensure no fuel is leaking before proceeding to the next step.
Detaching From Engine
Next, find the bolts or screws securing the carburetor to the engine. Use the appropriate tool to remove these fasteners. Place them in a safe spot to avoid losing them. Once the fasteners are removed, gently pull the carburetor away from the engine. Be cautious of any gaskets or seals that might come loose. Inspect these parts for damage and replace them if necessary.
Now, your carburetor is free from the engine, ready for a thorough cleaning. Make sure to keep all parts organized for easy reassembly.
Disassembling The Carburetor
Disassembling the carburetor of your Honda lawn mower can seem tough. But, with a little guidance, you can do it easily. This process is essential for proper maintenance. It helps ensure your mower runs smoothly. Below, we break down the steps you need to follow.
Taking Apart Components
First, make sure your mower is off and cool. Safety first! Then, locate the carburetor. It’s usually near the engine. Use a screwdriver to remove the screws. Keep them safe. Next, carefully detach the carburetor from the engine. You might need pliers for this.
Now, look at the carburetor. You will see several small parts. These include the float bowl, needle valve, and gaskets. Remove each part one by one. Note their positions. This will help you during reassembly. Clean each part with a carburetor cleaner. Be gentle.
Inspecting Parts
Once you have all parts disassembled, inspect them. Check for any signs of damage or wear. Look for cracks, rust, or dirt buildup. Pay special attention to the needle valve and float bowl. These parts are crucial for the carburetor’s function. If any part looks damaged, replace it.
After inspection, clean each part again. Use a soft brush to remove any remaining debris. Ensure all parts are dry before reassembling. This will prevent any issues during reassembly. Now, you are ready to put everything back together.
Cleaning The Carburetor
Cleaning the carburetor of your Honda lawn mower is essential for its performance. A clean carburetor ensures efficient fuel flow, preventing engine issues. Follow these steps for a thorough cleaning.
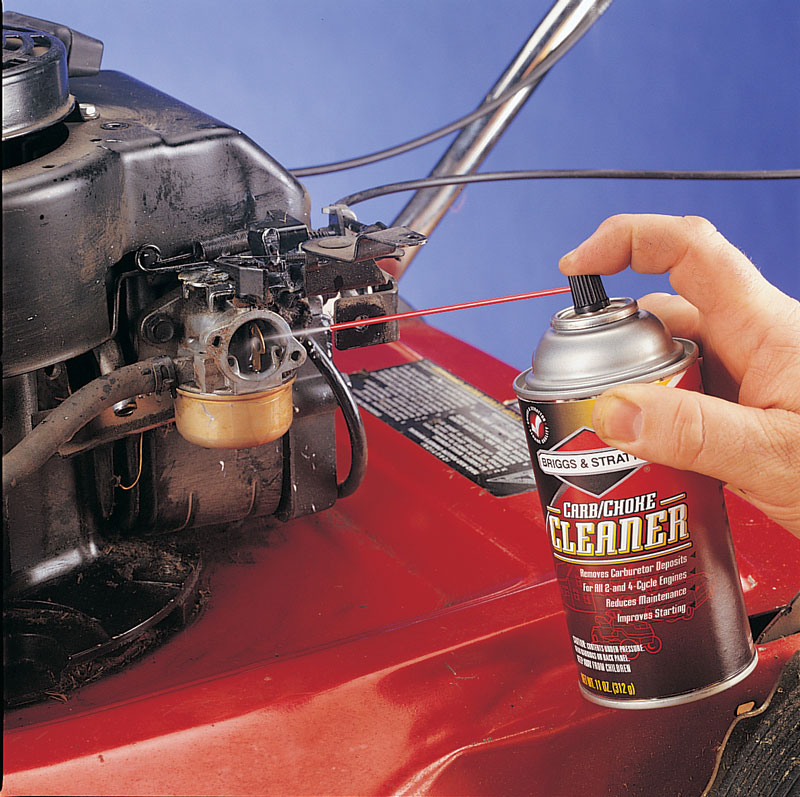
Using Carburetor Cleaner
First, gather your tools. You will need a carburetor cleaner spray, a screwdriver, and a small brush. Make sure the lawn mower is turned off and cooled down.
- Remove the air filter cover and the air filter.
- Locate the carburetor and remove it using the screwdriver.
- Spray the carburetor cleaner on all visible parts.
- Use the small brush to scrub away any dirt and debris.
- Rinse with the cleaner again to remove loosened particles.
Let the carburetor dry completely before reassembling it.
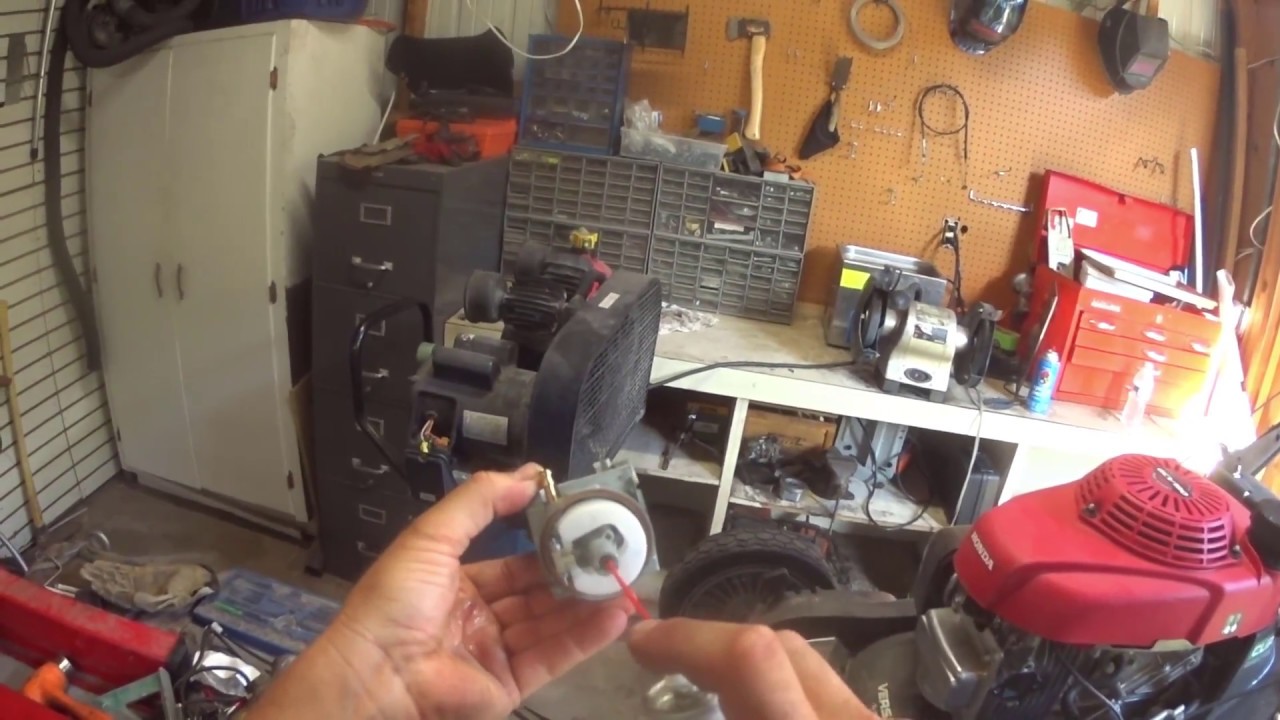
Cleaning Jets And Passages
Cleaning the jets and passages ensures smooth fuel flow. Blocked jets can cause engine stalling.
- Locate the main jet and pilot jet on the carburetor.
- Carefully remove the jets using a screwdriver.
- Spray carburetor cleaner through the jets and passages.
- Use a thin wire to clear any stubborn clogs.
- Re-spray the cleaner to ensure all debris is removed.
Reinstall the jets and ensure they are securely in place.
Regular cleaning keeps your Honda lawn mower running smoothly. Follow these steps to maintain peak performance.
Reassembling The Carburetor
Once you have successfully cleaned your Honda lawn mower carburetor, the next step is reassembling the carburetor. This process requires careful attention to detail to ensure the mower functions correctly. Let’s dive into the steps involved in reassembling your carburetor.
Reattaching Components
Start by reattaching all components you had removed earlier. Follow these steps:
- Place the carburetor back onto the engine.
- Secure it with the mounting bolts.
- Reconnect the throttle linkage and choke linkage.
Ensure each component is tightly secured. Loose parts can cause performance issues.
Ensuring Proper Fit
After reattaching the components, it’s crucial to ensure a proper fit. Here’s how:
- Check the alignment of the carburetor with the engine.
- Make sure all gaskets are properly placed and not damaged.
- Ensure the fuel line is securely connected to avoid leaks.
Once everything is in place, give the carburetor a slight wiggle. This checks for any loose connections.
| Step | Action |
|---|---|
| 1 | Reattach carburetor to engine. |
| 2 | Secure with mounting bolts. |
| 3 | Reconnect throttle and choke linkage. |
| 4 | Check alignment and gasket placement. |
| 5 | Ensure fuel line connection. |
By carefully following these steps, you ensure the carburetor is properly reassembled. This helps your Honda lawn mower run smoothly and efficiently.
Reinstalling The Carburetor
Reinstalling the carburetor is a crucial step in maintaining your Honda lawn mower. After cleaning, it’s important to put everything back correctly. This ensures your mower runs smoothly and efficiently. Follow these steps to reinstall your carburetor.
Connecting Fuel Line
First, reattach the fuel line to the carburetor. Ensure the hose fits snugly on the carburetor’s fuel inlet. Secure it with the clamp. This prevents any fuel leaks. Double-check the connection to make sure it’s tight and secure.
Securing To Engine
Next, align the carburetor with the engine mounting points. Carefully insert the bolts through the carburetor and into the engine block. Use a wrench to tighten the bolts. Make sure they are secure but not overly tight. This keeps the carburetor stable during operation. Reconnect any linkages or springs attached to the carburetor. Ensure they move freely and are properly aligned.
After securing the carburetor, check for any loose parts. Make sure everything is in place and properly connected. This final step ensures your Honda lawn mower is ready for use.
Testing The Lawn Mower
After cleaning the carburetor, it’s crucial to test your Honda lawn mower. This ensures everything works as it should. You don’t want to face issues when mowing your lawn. Follow these steps to check your lawn mower’s performance.
Starting The Engine
First, start your lawn mower engine. Place the mower on a flat surface. Check the fuel level and fill if necessary.
- Engage the choke if your model has one.
- Pull the starter cord with a firm, steady motion.
- Once the engine starts, let it run for a few minutes.
Listen for any unusual noises. A smooth start indicates a clean carburetor. If the engine struggles, there might be an issue.
Checking Performance
Next, check the performance of your lawn mower. Here are some key points to observe:
- Idle Speed: The engine should idle smoothly without stalling.
- Acceleration: Increase the throttle and ensure the engine responds well.
- Cut Quality: Engage the blades and check the cut quality on the grass.
Perform a quick mow on a small patch of grass. Observe if the mower cuts evenly. A well-running engine should not miss patches or leave uneven cuts.
If the mower performs well, your carburetor cleaning was successful. If not, you may need to recheck the carburetor or look for other issues.
Frequently Asked Questions
How Do You Clean A Honda Lawn Mower Carburetor?
To clean a Honda lawn mower carburetor, first, remove it carefully. Then, use carburetor cleaner to remove any debris. Reassemble after cleaning.
What Tools Do I Need To Clean A Carburetor?
You’ll need a screwdriver, carburetor cleaner, gloves, and a brush. These tools help you clean the carburetor efficiently.
How Often Should I Clean My Lawn Mower Carburetor?
You should clean your lawn mower carburetor at least once a season. Regular cleaning ensures optimal performance and longevity.
Why Is My Honda Lawn Mower Not Starting?
A dirty carburetor is often the cause. Cleaning the carburetor can fix starting issues. Ensure fuel is fresh.
Conclusion
Cleaning your Honda lawn mower carburetor is essential for smooth operation. Regular maintenance ensures a longer lifespan. Follow the steps to avoid costly repairs. Always use clean tools and fresh fuel. Make sure to check for blockages and dirt. A clean carburetor improves performance and fuel efficiency.
Take your time and be thorough. You’ll notice a difference in how your mower runs. Keep it clean to mow efficiently every time. Happy mowing!
