
Replacing the pull cord on your Briggs and Stratton lawn mower is easier than you think. With a few tools and some patience, you can do it yourself.
A broken pull cord can be frustrating, especially when you’re ready to mow the lawn. But don’t worry, you don’t need to be a mechanic to fix it. This guide will help you replace the pull cord step-by-step. We’ll cover everything from removing the old cord to installing the new one.
By the end, your lawn mower will be ready to start again. So, let’s get started and get your mower back in action!

Safety First
Ensure safety by disconnecting the spark plug before replacing the pull cord on your Briggs and Stratton lawn mower. Use gloves to protect your hands while working.
Before starting any lawn mower repair, prioritize safety. Replacing the pull cord on a Briggs and Stratton lawn mower can be straightforward. But always keep safety in mind. Proper precautions can prevent accidents and injuries. Below are important safety measures to follow.Wear Protective Gear
Always wear protective gear. This includes gloves and safety glasses. Gloves protect your hands from cuts and bruises. Safety glasses shield your eyes from debris. Also, wear sturdy shoes to protect your feet.Disconnect Spark Plug
Disconnect the spark plug before any repair. This step prevents accidental starting. Locate the spark plug wire and remove it. This ensures the mower won’t start unexpectedly. Always double-check that the spark plug is disconnected. Your safety is the priority. “`Accessing The Pull Cord
Accessing the pull cord on your Briggs & Stratton lawn mower is a crucial step in replacing it. This process involves removing several components to reach the pull cord housing. Follow these steps to access the pull cord effectively.
Remove Engine Cover
First, you need to remove the engine cover to access the internal parts. This cover is usually held in place by a few screws or bolts. Follow these steps:
- Locate the screws or bolts on the engine cover.
- Use a screwdriver or socket wrench to remove them.
- Carefully lift off the engine cover and set it aside.
Be sure to keep the screws or bolts in a safe place. You will need them later to reattach the cover.
Locate The Pull Cord Housing
With the engine cover removed, you can now locate the pull cord housing. The housing is usually positioned on the side of the engine. Here’s what to do next:
- Identify the pull cord housing, which is often a round or rectangular casing.
- Check for any additional screws or bolts securing the housing.
- Remove these fasteners with the appropriate tool.
- Carefully open the housing to expose the pull cord mechanism.
Take note of how the pull cord is wound inside the housing. This will help you when installing the new cord.
Now that you have accessed the pull cord, you are ready to proceed with replacing it. Follow the next steps in your guide to complete the replacement.
Removing The Old Cord
Replacing the pull cord on your Briggs and Stratton lawn mower is a straightforward task. The first step involves removing the old cord. This part is crucial to ensure the new cord fits perfectly. Follow these steps to make the process easy and efficient.
Unwind The Cord
Start by locating the rewind housing on your mower. Remove the screws securing the housing. Carefully lift the housing to expose the spool inside. Hold the spool steady. Turn it slowly to unwind the remaining cord. Be cautious of the recoil spring. It can snap back if released suddenly. Once unwound, remove any fragments of the old cord.
Detach From Handle
Next, you need to detach the cord from the handle. Locate the handle where the cord is attached. Cut the knot or pull it through the hole. Remove the cord completely from the handle. Ensure no remnants of the old cord are left. This step prepares the handle for the new cord.
Preparing The New Cord
Replacing the pull cord on a Briggs and Stratton lawn mower involves a few simple steps. Start by removing the housing. Then, attach the new cord and reassemble the mower.
Replacing the pull cord on your Briggs and Stratton lawn mower can seem tricky. But with the right steps, it becomes easy. The first step is preparing the new cord. This involves cutting the cord to the correct length and burning the ends to prevent fraying. Each step is crucial for smooth operation.Cut The Cord To Length
Measure the old cord to get the correct length. If the old cord is broken, refer to your mower’s manual. Use a tape measure to ensure accuracy. Mark the length on the new cord. Use a sharp pair of scissors or a knife to cut the cord. Make sure the cut is clean and even.Burn The Ends
Burning the ends of the cord prevents fraying. This step is simple but important. Use a lighter or match to carefully burn each end of the cord. Hold the flame to the end for a few seconds. Let the cord cool before handling. This ensures the ends stay intact and makes threading easier. “`Installing The New Cord
Replacing the pull cord on your Briggs and Stratton lawn mower is an easy task. With the right steps, you can do it quickly. This guide will help you install the new cord properly. Follow the steps below to ensure your mower works smoothly.
Thread The Cord
First, thread the new cord through the starter housing. Make sure it goes through the same path as the old one.
- Insert one end of the cord into the pulley hole.
- Pull the cord through the pulley until it’s fully extended.
- Ensure there are no twists or knots in the cord.
Secure To Handle
Next, secure the cord to the handle of the lawn mower. This step ensures the cord is ready for use.
- Tie a knot at the end of the cord.
- Attach the cord to the handle using the provided slot or hole.
- Ensure the knot is tight and secure.
Your new pull cord is now installed. Check the tension by pulling the handle. The cord should retract smoothly. If it doesn’t, recheck the threading and knots.
Reassembling The Mower
Once you have replaced the pull cord on your Briggs and Stratton lawn mower, the next step is reassembling the mower. This part is crucial for ensuring that your mower functions correctly. Follow these steps to reassemble your mower smoothly.
Replace Engine Cover
Start by placing the engine cover back onto the mower. Ensure that all the screw holes are aligned properly. Use a screwdriver to tighten the screws securely.
Refer to the table below for screw types and sizes:
| Screw Type | Size |
|---|---|
| Phillips Head | 10 mm |
| Flat Head | 12 mm |
Ensure all screws are tight. This will prevent the cover from coming loose.
Reconnect Spark Plug
Now, it is time to reconnect the spark plug. This step is essential for the engine to start.
- Locate the spark plug wire.
- Attach the wire to the spark plug.
- Push it firmly until it clicks into place.
Check that the spark plug is connected securely. This ensures a proper connection for the engine to start.
By following these steps, you will have successfully reassembled your mower. Your Briggs and Stratton lawn mower should now be ready for use.
Testing The New Cord
After replacing the pull cord on your Briggs and Stratton lawn mower, it’s crucial to test the new cord. This ensures everything operates smoothly and your mower starts without issues. Follow these steps to test the new cord properly.
Pull The Cord
First, stand behind your mower. Hold the handle securely. Pull the cord with a steady motion. Avoid yanking it too hard. This prevents damage to the cord and starter mechanism.
Check For Smooth Operation
Observe the cord as you pull it. It should extend and retract without any hitches. If the cord jams or feels stiff, there might be an installation issue. In that case, recheck the assembly steps.
Listen to the engine as you pull the cord. A healthy sound indicates everything is in place. If the engine doesn’t turn over, the cord might be too tight or misaligned.
Ensure Proper Retraction
Release the cord slowly. It should return smoothly into the starter housing. If it doesn’t, the recoil spring might be too loose or too tight.
Here’s a quick troubleshooting table:
| Issue | Possible Cause | Solution |
|---|---|---|
| Cord doesn’t retract | Recoil spring issue | Adjust or replace spring |
| Cord feels stiff | Misalignment | Recheck installation |
| Engine doesn’t turn over | Cord too tight | Readjust cord length |
Testing the new pull cord involves these simple steps. Ensure the cord pulls smoothly, retracts properly, and the engine responds well. A well-functioning pull cord ensures a hassle-free mowing experience.

Troubleshooting
Replacing the pull cord on a Briggs and Stratton lawn mower can sometimes be tricky. Various issues might arise during the process. Here, we will discuss common troubleshooting steps.
Cord Tension Issues
If the pull cord feels too loose or too tight, it may not function properly. To fix this:
- First, check the spring tension. A loose spring can cause the cord to slack.
- Next, make sure the cord length is appropriate. A cord too long or too short can cause tension issues.
- Lastly, ensure the pulley system is not obstructed. Debris can affect the cord’s tension.
Testing the tension after each adjustment can help identify the problem.
Recoil Problems
Recoil issues can prevent the cord from retracting properly. Here are steps to troubleshoot:
- Inspect the recoil spring. A damaged spring needs replacement.
- Check the pulley for any damage or wear. Replace if necessary.
- Ensure the starter housing is clean. Dirt can hinder recoil action.
Reassembling the parts carefully can resolve most recoil issues.
By following these steps, you can ensure your lawn mower’s pull cord functions smoothly. Regular maintenance can prevent many of these common issues.
Maintenance Tips
Replacing the pull cord on a Briggs and Stratton lawn mower is easy with the right tools. Begin by removing the starter housing. Next, replace the old cord with a new one, and reassemble the parts. This simple task ensures your mower runs smoothly.
Proper maintenance of your lawn mower ensures its longevity and efficiency. Regular upkeep prevents unexpected breakdowns and costly repairs. Here are some essential maintenance tips to keep your mower in top shape.Regular Inspection
Check the pull cord frequently. Look for signs of wear or fraying. A damaged pull cord can break at any time, causing frustration. Examine the handle and the recoil mechanism too. Make sure they function smoothly. Clean any debris around the recoil area. Dirt can clog the mechanism, making it hard to start.Proper Storage
Store your lawn mower in a dry place. Moisture can cause rust and corrosion. Use a cover to protect it from dust and dirt. Drain the fuel before storing for long periods. Old fuel can clog the carburetor. Keep the mower on a flat surface. This prevents oil leakage and other issues. Check the pull cord and replace it if necessary. Regular storage checks can save you from future problems. “`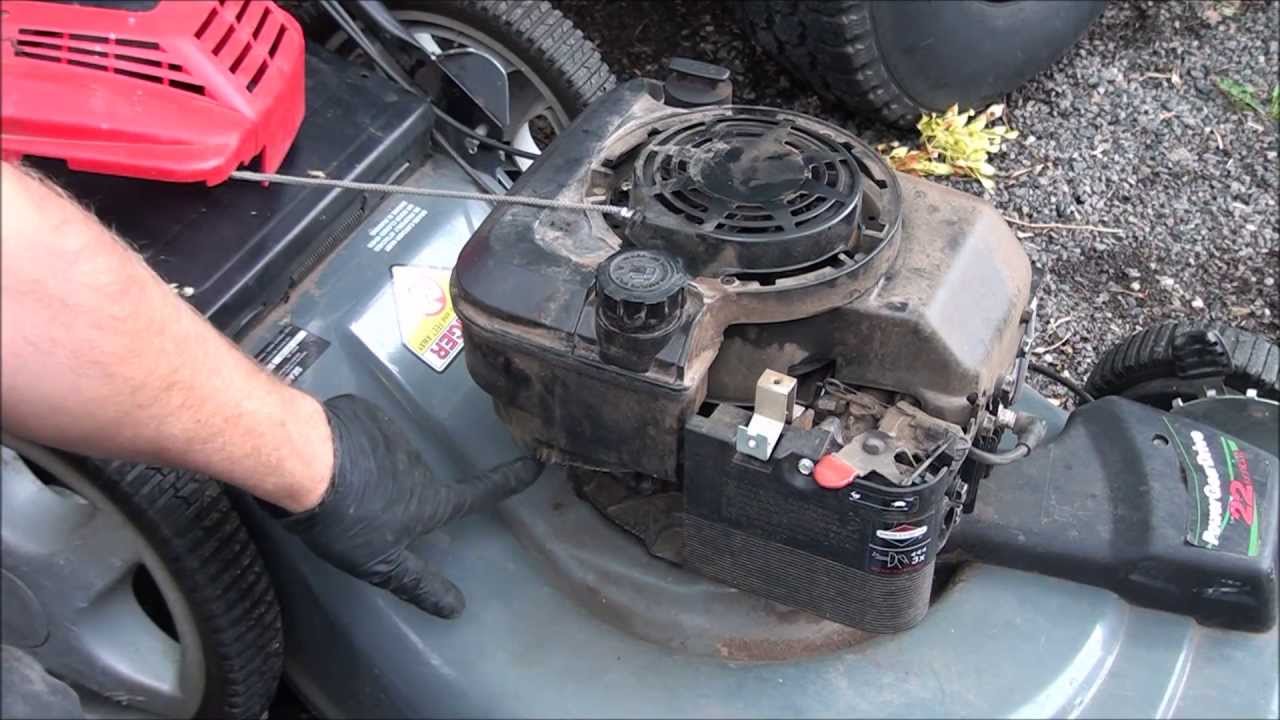
Frequently Asked Questions
How Do You Replace A Lawn Mower Pull Cord?
To replace a lawn mower pull cord, first, remove the starter assembly. Then, replace the broken cord with a new one and reassemble.
What Tools Are Needed To Replace A Pull Cord?
You need a screwdriver, pliers, and a new pull cord. These tools will help you remove and replace the old cord.
Can I Replace A Pull Cord Myself?
Yes, replacing a pull cord is a simple DIY task. With the right tools and steps, you can do it yourself.
How Long Does It Take To Replace A Pull Cord?
Replacing a pull cord typically takes around 30 minutes. It’s a quick and straightforward process with the right tools.
Conclusion
Replacing the pull cord on a Briggs and Stratton lawn mower is simple. Follow these steps to maintain your mower’s functionality. Regular upkeep ensures a longer lifespan for your mower. Always use the correct tools and safety gear. With a little patience, you can save time and money.
No need for professional help. Your mower will start with ease again. Happy mowing!
